How to configure the APN Settings on your Android Phone
How to configure the APN Settings on your Android Phone
Need help to configure the APN Settings for your android phone? Sure we can help! This is a quick setup guide that will give you the instructions on how to set it up in minutes.
First of all, let’s make sure you are clear on what does that mean. The APN or Access Point Names is a set of information required for your phone to be able to browse the internet or send and receive picture, multimedia messages. These Settings are usually pre-configured when you get your phone from your mobile operator; however there are cases that you might require to set them up:
You bought your phone from another operator and now you’re going to switch to a new operator – or the so called- Bring Your Own Device plan
You are travelling abroad and need to configure your phone to the local operator settings.
Sometimes the APN Settings you are using is not the optimal one for your phone, let’s say that you have a LTE – 4G capable phone and you’re only getting 3G connectivity, you might have the wrong APN configured
Last but not least, it could be that you had the phone working and now suddenly you are not able to use the internet, and this is obviously a big reason to check and properly configure the APN settings on the phone.
How to configure APN Settings on Android Phone – Step by Step Instructions
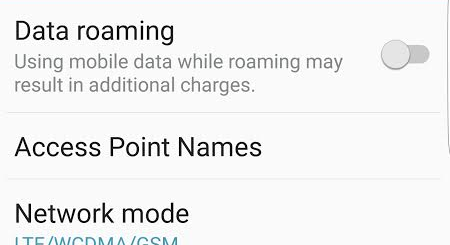
For most android phones, this is the path to access the APN menu: Go to Settings – Just scroll down the notification menu and you will see a Gear like icon or you can also go to the main apps and look for Settings. Now go to Mobile networks, and you will finally see Access Point Names
Inside the menu, you will have the options to Reset, Edit, Delete or create a new APN. We recommend always creating a New APN. You will need the values specific to your mobile operator. If you don’t have one, you can do a quick search on our blog and most likely you will find them
[embedyt] https://www.youtube.com/watch?v=SI9NBWYn2Vo[/embedyt]
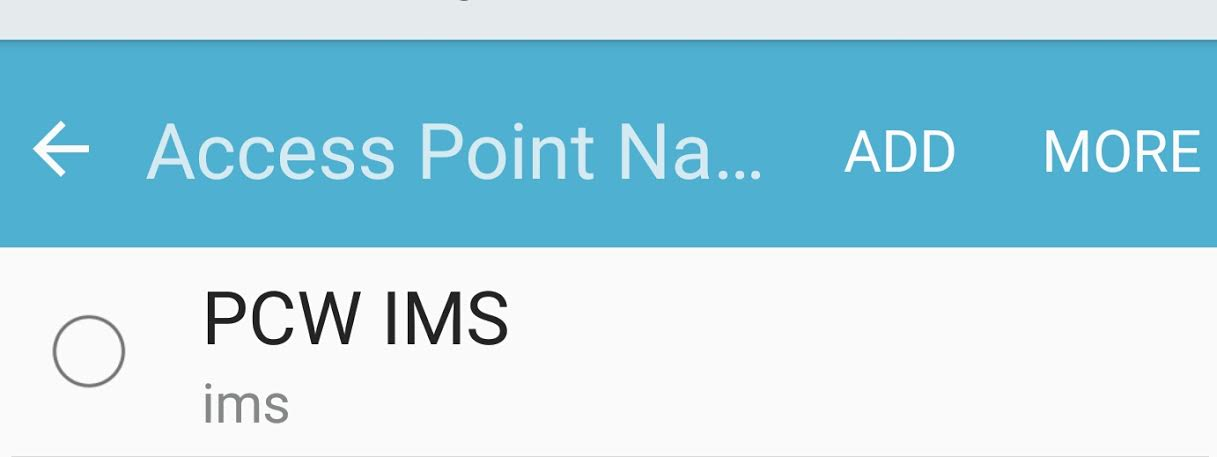
Andoir APN Settings configuration menu – ADD new APN
When configuring the APN, place special attention to all the dots, or special characters that are part of the settings, omitting or a typo will make it malfunctioning.
After you have correctly type in the Settings, you should Save and Exit. Once the APN’s are Set and functioning properly, you should see a small icon on the notification bar that either says. 3G, 4G, E, LTE or G, meaning the phone is connected and data is working fine.
Additional to that, if you also configure the MMS portion of it, you should be capable to send and receive picture messages.
Should you encounter any issue with this, we recommend you to read our APN Settings Troubleshooting guide
Well, here’s what worked for me, and what I believe caused the problem.
I downloaded a new messaging service, and shortly thereafter, I started getting the apn message. Uninstalled the app, no more message. So……try uninstalling whatever app you’re using, and reinstall a fresh copy, Worked for me.